Soldering Basics for Phonograph Repair: A Simple Guide
Repairing antique phonographs often involves dealing with delicate electrical connections. While it might seem intimidating, mastering basic soldering techniques is a vital skill for anyone restoring these vintage audio treasures. This guide breaks down the fundamentals, providing a beginner-friendly introduction to soldering essential for phonograph repair.
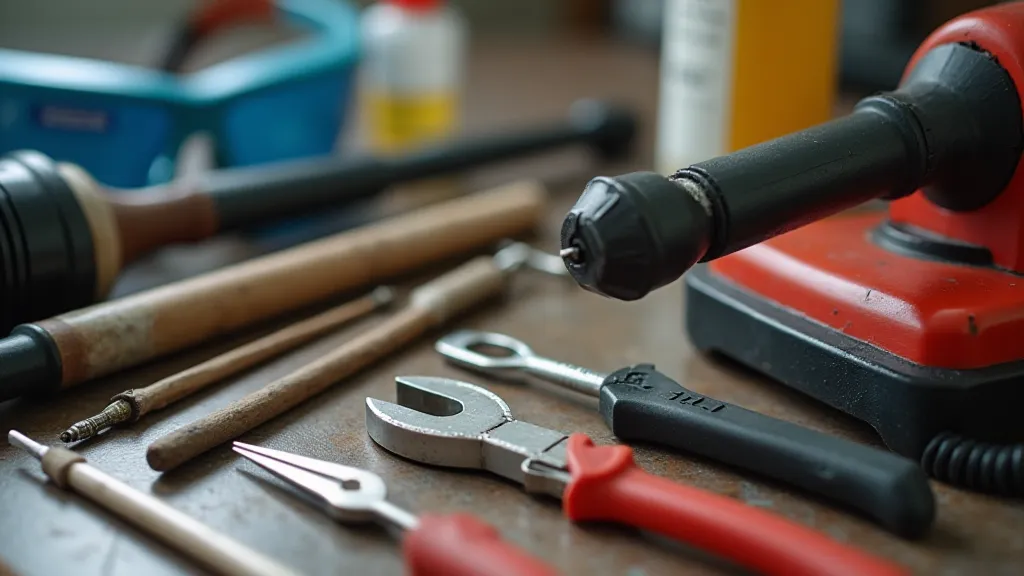
What You'll Need: Your Soldering Toolkit
Before you start, gather your materials. Here's a checklist:
- Soldering Iron: A temperature-controlled iron is ideal, allowing you to adjust the heat based on the task. Around 25-40 watts is generally suitable for phonograph repairs.
- Solder: Choose a rosin-core solder specifically designed for electronics. Lead-free solder is becoming more common, but traditional leaded solder often flows more easily.
- Flux: Flux helps clean the surfaces to be soldered and promotes a strong bond. While most solder is rosin-core, extra flux can be helpful for older, oxidized connections.
- Wire Strippers: For cleanly removing insulation from wires.
- Helping Hands/Third Hand Tool: This tool holds parts in place, freeing your hands for soldering.
- Desoldering Pump or Wick (Solder Sucker/Braid): Essential for removing old solder when replacing components.
- Safety Glasses: Protect your eyes from solder splashes.
- Ventilation: Solder fumes can be harmful, so work in a well-ventilated area.
The Soldering Process: Step-by-Step
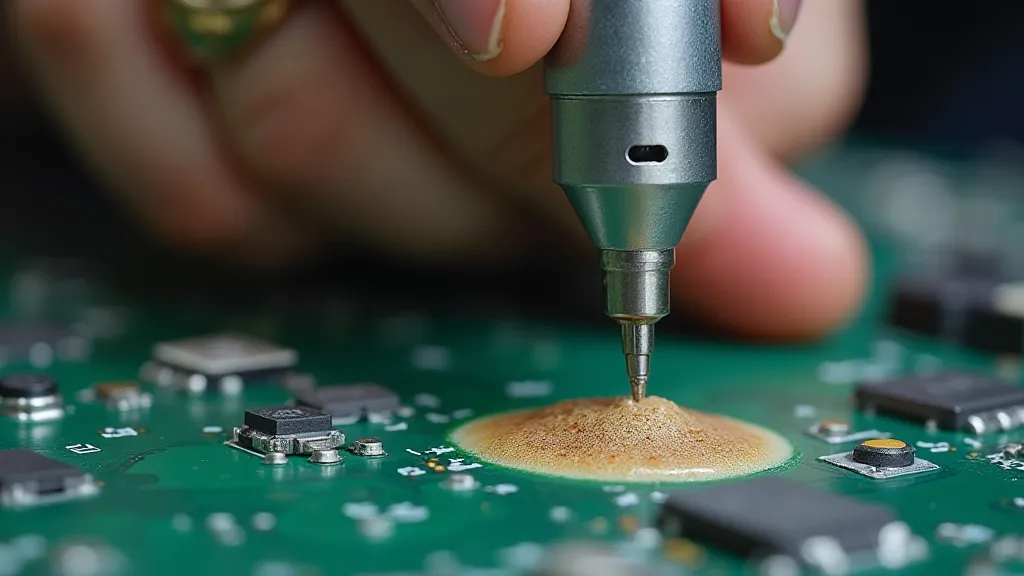
- Prepare the Joint: Clean the surfaces to be soldered. If corrosion is present, gently remove it with a small wire brush or fine sandpaper.
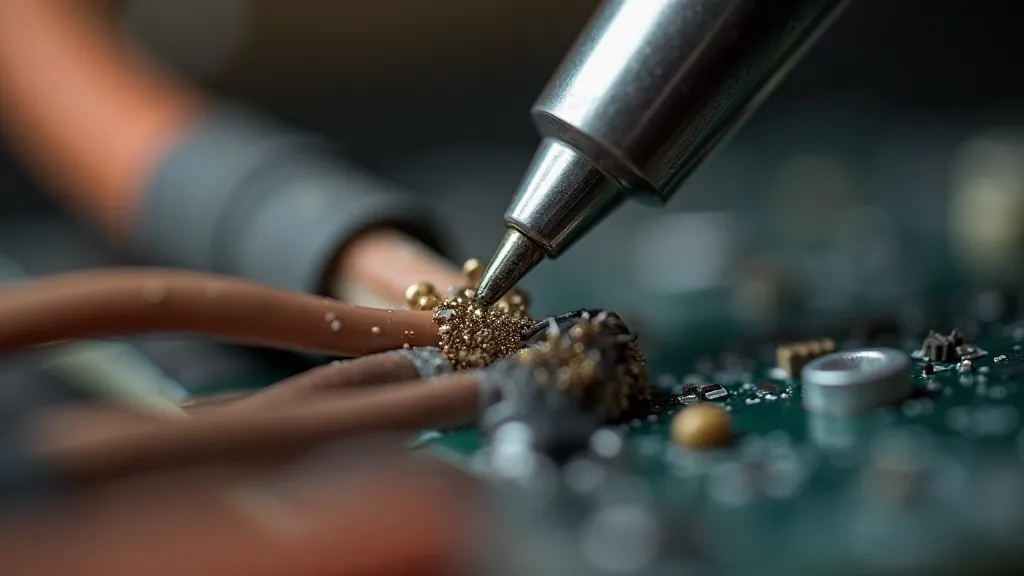
- Tinning the Iron & Wires: "Tinning" means applying a thin layer of solder to the tip of the soldering iron and the wires to be joined. This makes the subsequent soldering process easier. Heat the tip of the iron, then touch it to the solder, allowing the solder to flow onto the tip. Repeat for the ends of the wires.
- Joining the Wires: Hold the wires securely using the helping hands tool. Heat the wires simultaneously with the soldering iron tip. Once the wires are hot enough, touch the solder to the wires, not the iron. The heat from the wires will melt the solder, drawing it into the joint.
- Remove Heat: Once the solder has flowed, immediately remove the soldering iron. Hold the joint still while it cools, preventing "cold joints" (weak connections).
- Inspect the Joint: A good solder joint should be shiny and cone-shaped. Dull, grainy joints indicate a problem, usually insufficient heat or contamination.
Common Pitfalls and How to Avoid Them
- Cold Joints: These appear grainy or dull. They happen when the surfaces aren't hot enough, or the joint is disturbed before the solder cools. Solution: Ensure sufficient heat and keep the joint still.
- Excess Solder: Too much solder weakens the joint. Use only the amount needed to create a solid connection.
- Bridging: This occurs when solder connects two wires instead of joining them properly. Careful positioning and sufficient heat prevent bridging.
- Oxidation: Oxidation on the wires prevents the solder from adhering correctly. Flux helps to combat this, but ensuring clean surfaces from the start is best.
Desoldering: Removing Old Solder
Sometimes, you need to remove existing solder to replace a faulty component or rewire a connection. This is done with a desoldering pump (solder sucker) or desoldering braid (wick).
- Heating the Joint: Apply the soldering iron tip to the solder you want to remove.
- Using a Desoldering Pump: Place the tip of the pump over the molten solder and press the plunger to suck it away.
- Using Desoldering Braid: Place the braid over the molten solder and use the iron to melt the solder into the braid. Pull the braid away, taking the solder with it.
Practice Makes Perfect
Soldering takes practice. Don't be discouraged by initial difficulties. Start with scrap wire and practice making solid, clean joints. With a little patience and these basics, you'll be well on your way to restoring your antique phonographs with confidence.