The Art of Cabinet Restoration: Preserving the Beauty of Your Phonograph
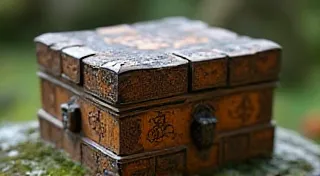
The beauty of an antique phonograph isn't just in its mechanical ingenuity; it’s also in the artistry of its cabinet. Often, these cabinets have suffered years of neglect, encountering scratches, dents, veneer damage, and fading finishes. Proper cabinet restoration is crucial to preserving not only the aesthetic appeal of your phonograph but also its value. This guide explores essential techniques for bringing your antique phonograph cabinet back to life. Beyond the visual appeal, the overall health of the phonograph depends on its mechanical components; issues with the mainspring, for example, can significantly impact performance. For those delving into the restoration process, understanding common electrical problems is also key.
Understanding Your Cabinet's Construction
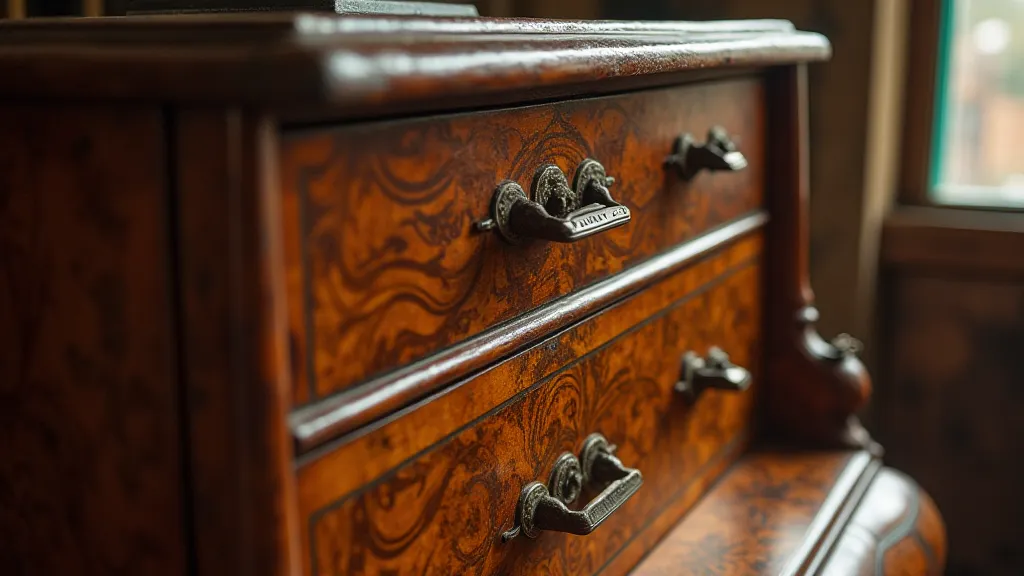
Before you begin any restoration work, it’s vital to understand the construction of your phonograph cabinet. Most antique phonographs utilize wood veneer over a solid wood frame. This veneer is thin, often less than 1/16th of an inch, and is particularly susceptible to damage. Knowing if you're dealing with a solid wood cabinet versus a veneered one dictates your approach. Solid wood can be sanded and refinished more aggressively, while veneer requires significantly more delicate handling. It’s worth noting that even seemingly straightforward repairs can require a deeper understanding of the phonograph's inner workings – sometimes a dull melody can be reawakened through careful revitalization of all components.
Veneer Repair: A Delicate Process
Veneer damage is one of the most common issues encountered during phonograph restoration. Bubbles, loose sections, and missing pieces require careful attention. The intricate beauty of the original finish and veneer often belies a complex process that requires a meticulous approach.
Loose Veneer
Loose veneer can often be re-glued. Carefully lift the loose section using a thin spatula or bone folder. Apply a thin layer of wood glue (hide glue is often preferred for antique restorations) to both the veneer and the underlying substrate. Clamp the veneer in place, using protective pads to prevent damage. Allow the glue to dry completely before proceeding. Wipe away any excess glue immediately. Ensuring a proper bond is critical; a weak adhesion can lead to further damage and frustration.
Missing Veneer
Smaller missing pieces can be patched with matching veneer. Carefully cut a piece of veneer to fit the gap. Apply wood glue and clamp into place. For larger missing areas, consider carefully matching the grain and color of the existing veneer for a seamless repair. Sourcing matching veneer can sometimes be challenging, but a successful repair significantly enhances the cabinet's overall appearance and value. In some instances, the challenge of restoring an aged machine can lead to a deeper dive into the complexities of its mechanics.
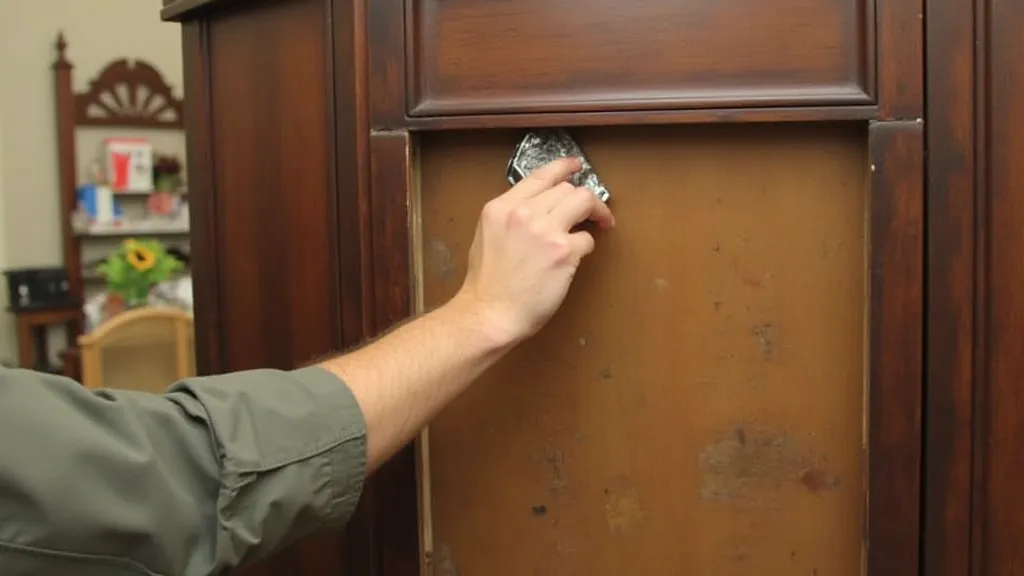
Stripping and Preparing the Surface
Once the veneer repairs are complete, the next step is to strip the old finish. Chemical strippers can be effective, but use them cautiously, following all safety precautions and working in a well-ventilated area. Mechanical stripping, using hand scrapers, is another option for those who prefer a more gentle approach. After stripping, the wood surface needs to be thoroughly cleaned and sanded smooth, working through progressively finer grits of sandpaper. This creates a perfectly prepared surface for the new finish. The condition of the finish directly affects the longevity of the cabinet’s appearance; a robust finish protects against moisture and wear. Many enthusiasts find that understanding how the electrical components interact with the cabinet’s environment adds another layer of appreciation.
Staining and Finishing
After sanding, the wood is ready for staining and finishing. Matching the original stain color can be challenging. Experiment on scrap pieces of similar wood to achieve the desired hue. Several coats of a high-quality varnish or lacquer will provide a durable and beautiful finish. Allow each coat to dry completely before applying the next, lightly sanding between coats for a smoother surface. Selecting the appropriate finish—lacquer, varnish, or shellac—depends on the desired aesthetic and level of durability.
Stain Matching Tips
Often the original stain is a mixture of dyes and pigments. Try to find old photos or catalogs of the phonograph model to get a better idea of the original color. Don't be afraid to mix different stains to achieve the perfect match. Test your stains on inconspicuous areas of the cabinet before applying them to the entire surface. A perfect stain match not only restores the visual appeal but also maintains the historical accuracy of the phonograph.
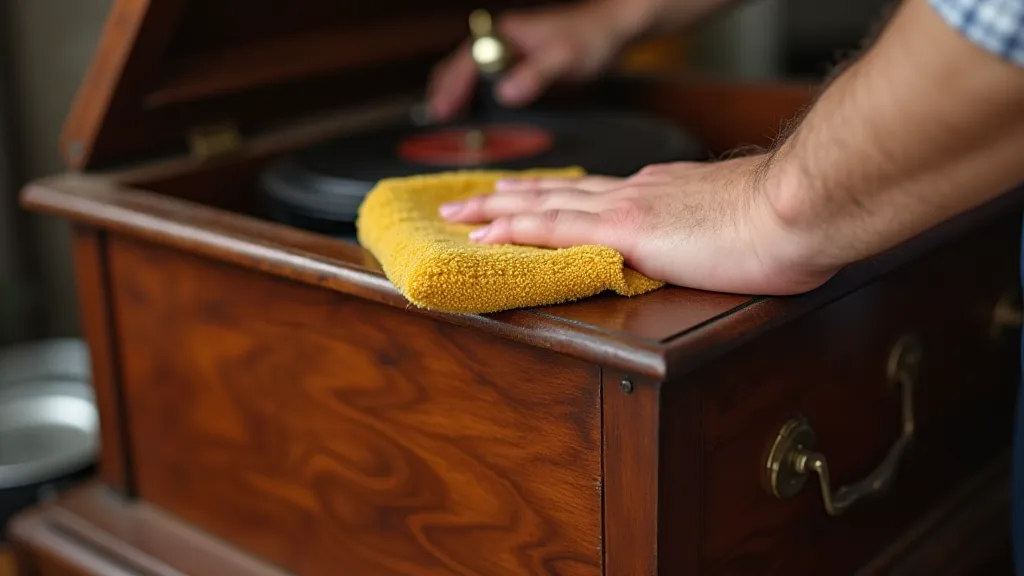
Polishing and Waxing
After the final coat of finish has fully cured, polishing and waxing will enhance the cabinet's beauty and provide added protection. A soft cloth and furniture polish or wax will bring out the wood’s natural luster. This final step breathes life back into the cabinet, showcasing the care and attention to detail that has gone into the restoration process. The process is somewhat analogous to restoring the field coils, requiring a careful and methodical approach to achieve optimal results.
Preserving the Original Character
While restoring a phonograph cabinet, it's important to preserve as much of its original character as possible. Avoid overly aggressive sanding or refinishing that could remove original markings or details. Consider leaving some minor imperfections that tell the story of the phonograph’s history. These subtle details contribute to the phonograph's charm and historical significance, offering a tangible connection to the past. The journey of restoration often reveals fascinating stories about the phonograph’s previous owners and its place in history.
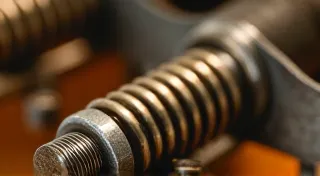
The Interplay of Aesthetics and Mechanics
It’s important to acknowledge that the cabinet’s restoration isn’t a standalone effort. The overall functionality of the phonograph relies on the harmonious operation of all its components. For instance, a weakened mainspring can put undue stress on the cabinet’s structure, potentially causing cracks or warping over time. Similarly, issues with the electrical system can lead to heat build-up that affects the finish. A holistic approach to restoration, considering both the aesthetics and the mechanics, is essential for preserving the phonograph's long-term health and value.
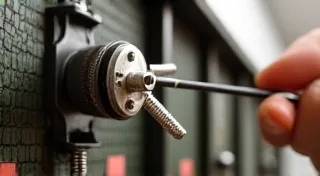
Addressing Common Electrical Issues
Beyond the visual restoration of the cabinet, understanding and potentially repairing common electrical problems is a critical aspect of bringing an antique phonograph back to life. These issues can range from faulty wiring to deteriorated insulation, and can significantly impact the phonograph's sound quality and overall functionality. Learning about these challenges can be invaluable in ensuring a complete and successful restoration. For those facing these challenges, a deeper dive into understanding common electrical problems in antique phonographs is highly recommended.
Reawakening the Voice – A Holistic Approach
Ultimately, the restoration of an antique phonograph is more than just a technical exercise; it’s an act of preservation and a tribute to the ingenuity of past generations. Bringing these machines back to life requires patience, skill, and a deep appreciation for their history. The process of uncovering the "latent melody"—reawakening dormant voices in phonograph restoration—is a deeply rewarding experience.