Understanding and Replacing Phonograph Mainsprings: A Comprehensive Guide
Mainsprings are critical components in many antique phonographs, often the unsung heroes powering the entire playback mechanism. When they fail, the music stops – and often, so does the phonograph’s usability. This article provides a detailed breakdown of different mainspring types, the signs of wear, safe removal and installation techniques, and considerations for replacement (including original vs. aftermarket options). We’re focusing on common issues and providing step-by-step instructions to help you confidently tackle this challenging repair. Restoring these complex machines can be demanding, and a solid grasp of common mechanical problems is essential; you might also find it helpful to read about common spring problems in antique phonographs to gain a broader understanding of their functionality and potential issues.
What is a Phonograph Mainspring?
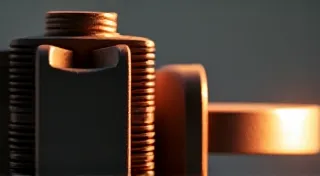
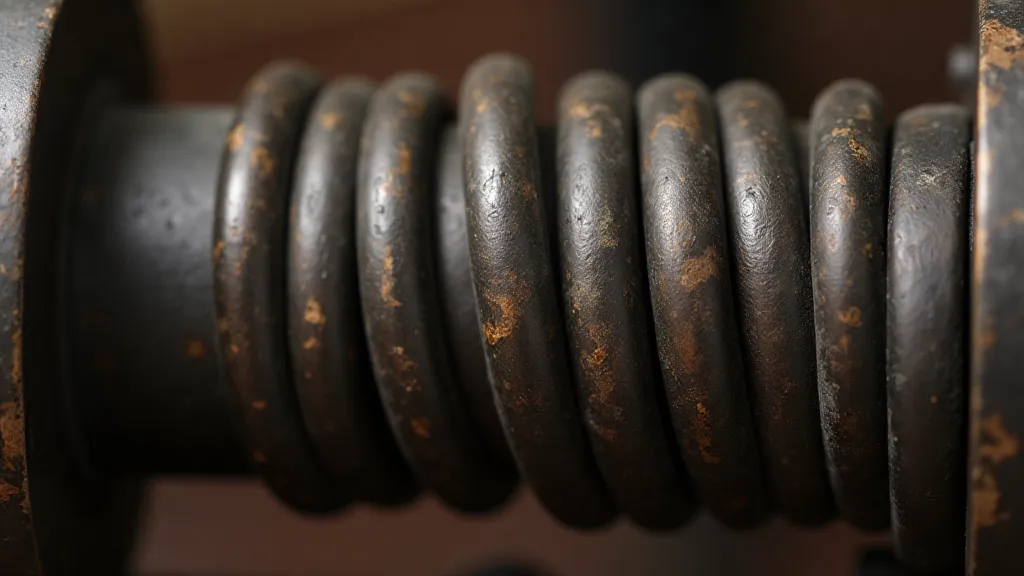
Essentially, a mainspring is a large, tightly coiled spring that stores energy. In a mechanical phonograph, this stored energy is gradually released, powering the motor that turns the turntable and feeds the recording foil or cylinder. Different phonograph designs utilize various mainspring arrangements, but the underlying principle remains the same: providing a consistent power source.
Types of Phonograph Mainsprings
While the core function is the same, mainspring designs vary. Here's a look at some common types:
- Leaf Springs: Primarily found in early Edison phonographs, these are flat steel strips that bend to store energy.
- Coiled Springs: By far the most prevalent, these are helical coils of steel, wound tightly to create potential energy. These come in varying sizes and wire gauges.
- Double-Coiled Springs: Some models use two mainsprings working in tandem, providing increased power and longer playback time.
Recognizing Mainspring Failure – The Signs of Wear
A failing mainspring doesn’t always announce its demise with a dramatic snap. Here are some common symptoms:
- Decreased Playback Time: The most common indicator. The phonograph simply doesn’t play for as long as it should.
- Erratic Motor Behavior: The motor may run faster or slower than usual, or stop altogether mid-playback. This kind of unpredictable behavior isn't always related to the mainspring; a malfunctioning governor can also contribute to these issues.
- Unusual Noises: Creaking, popping, or grinding sounds coming from the motor compartment can indicate a weakening spring.
- Visible Fatigue: In some cases, you might be able to see cracks or distortions in the mainspring itself – a clear sign of imminent failure.
Safe Removal: A Critical First Step
Removing a mainspring is arguably the most dangerous part of the repair. The stored energy is significant and can cause serious injury if released unexpectedly. Safety is paramount!
- Secure the Phonograph: Ensure the phonograph is stable and won't tip over.
- Disable the Mechanism: Prevent the motor from engaging by removing the drive belt or disconnecting the winding mechanism.
- Pin the Mainspring: Before attempting to unwind, use a strong pin or specialized tool to prevent the spring from suddenly releasing. This is absolutely essential.
- Slow, Controlled Unwinding: Carefully unwind the spring, allowing the stored energy to dissipate gradually.

Installation: Replacing the Mainspring
Once the old mainspring is removed, installing the new one is the reverse process, but with equal care and attention to detail. The whole process of bringing these machines back to life is an art form, and sometimes a dormant voice is all that’s needed to realize the potential for revival; you might find inspiration by reading about reawakening dormant voices in phonograph restoration.
- Lubricate the Arbor: Apply a thin layer of lubricant to the arbor (the shaft the spring sits on) to ensure smooth winding.
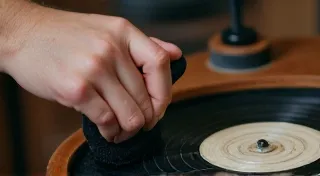
- Careful Winding: Slowly and evenly wind the new mainspring. Use a winding crank or specialized tool for this task.
- Secure the Spring: Once fully wound, ensure the spring is seated correctly and secured to prevent slippage.
- Test Functionality: After installation, test the phonograph's operation to ensure the new mainspring is working correctly.
Original vs. Aftermarket Mainsprings
When it comes to replacement, you have two primary options: original and aftermarket.
- Original Mainsprings: Sourcing an original mainspring is often challenging and can be expensive. However, it ensures correct size, shape, and power output, preserving the phonograph's original character.
- Aftermarket Mainsprings: Aftermarket options are more readily available and often more affordable. However, it’s crucial to ensure the replacement spring is a proper match in terms of dimensions, power, and winding rate. An incorrect spring can damage the phonograph or negatively impact its performance. The accuracy of replacement parts is key to a successful restoration – it’s vital to understand the mechanical principles at play.
Understanding the Components and Their Interactions
The mainspring isn’t operating in isolation; it's a vital part of a complex system. The motor’s performance is influenced by various factors, including the governor, which regulates its speed. When things start to go wrong, pinpointing the root cause can be tricky. A sticking governor can mimic the symptoms of a failing mainspring. If you're experiencing issues with erratic motor behavior, you might find it useful to consult a guide dedicated to troubleshooting a sticking phonograph governor.
The Aesthetics and Evolution of Phonograph Design
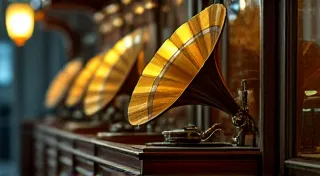
The design of a phonograph wasn’t solely about functionality; it also encompassed aesthetics and the materials available at the time. The horn, for example, played a dual role: amplifying the sound and contributing to the overall visual appeal. The early phonographs used massive horns, which have since evolved into more compact and sophisticated designs. These horns often hold historical and aesthetic value. For those interested in the history and design of these fascinating machines, exploring " the role of horns in early phonographs: design and function" can provide a deeper appreciation for their significance.
Safety Precautions and Best Practices
Beyond the steps outlined for removing and installing the mainspring, prioritizing safety requires a thorough understanding of the entire phonograph mechanism. Wear appropriate safety gear, including eye protection and gloves. Always work in a well-lit area and ensure you have the right tools for the job. If you're unsure about any aspect of the repair, seek guidance from an experienced phonograph technician. The potential for injury is real, so caution and respect for the machine are paramount.
Conclusion
Replacing a phonograph mainspring is a demanding repair, requiring patience, precision, and a commitment to safety. By understanding the different types of mainsprings, recognizing signs of failure, and following these step-by-step instructions, you can confidently tackle this challenging restoration project and bring your antique phonograph back to life. The satisfaction of hearing those first crackles and pops of a beautifully restored phonograph is a reward in itself!